This is page 3 of your Guide to Awesome Fondant Birthday Cakes. If you missed page 1 or page 2, go there and then come back here for the rest of the steps.
Yippee, Time to Shop for Fondant Supplies!
By now you should have a shopping list ready to go. You may need to visit more than one store, unless you visit a Super Center that has both groceries and cake decorating equipment.
I’ve seen most of it at Walmart, but craft stores like Michael’s usually have a larger cake decorator’s section.
You would know better than I would what’s available in your area.
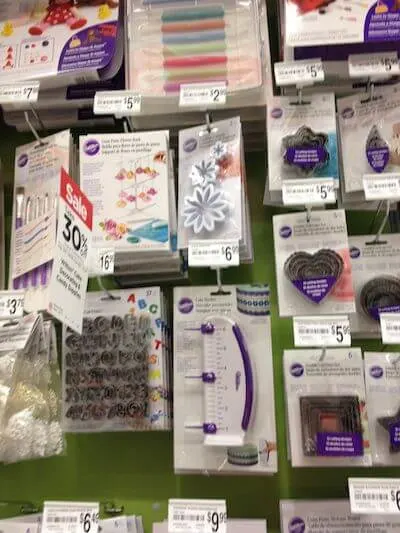
Now I must warn you, when you find the cake decorating section of the store, you may have trouble resisting all the great tools and embellishments on display.
Just try not to break the bank buying all those cool gadgets because you won’t need many of them to get your beautiful cake made.
With a little creativity you can find all kinds of things around the house that will make great fondant decorating tools.
Now, off you go to get it done!
Prepare the Fondant
Feeling fine and ready to start? You will need a little energy for this job.
First gather the ingredients and supplies.
Ingredients for one batch
16 ounces of Marshmallows
2 pounds of confectioners sugar
1/2 cup of shortening
2-4 Tablespoons of water
Food colorings
Supplies/Equipment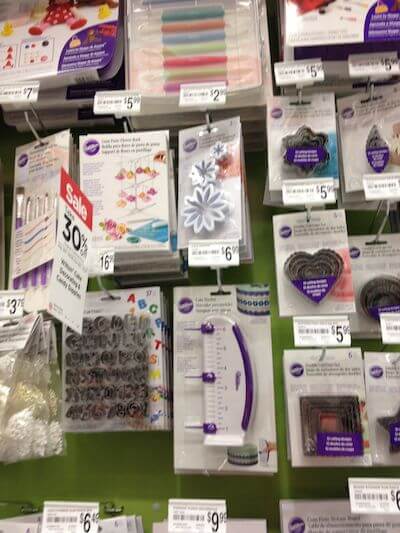
Large smooth work surface, like your countertop or non-slip pastry mat
Rolling pin or fondant roller (wide)
Large glass bowl
Large spoon
Microwave or double boiler
Ruler or measuring tape
Let’s Get Started!
Smear shortening over your work surface in a large circle. This area will be used for mixing and kneading the fondant.
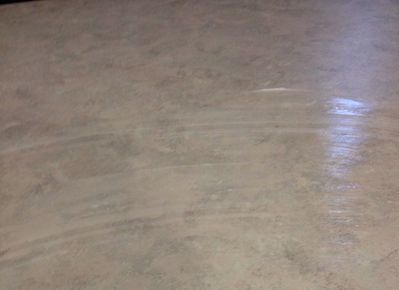
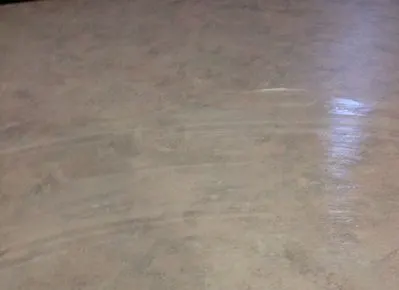 Place the shortening where you can reach it while working because you will need to re-smear once or twice as you work.
You will also need to grease your hands when it’s time to work the dough.
Dump the marshmallows into the bowl and sprinkle 2 tablespoons of water over them.
Place the bowl in the microwave for a minute, then stir.
Repeat once or twice until all marshmallows are melted.
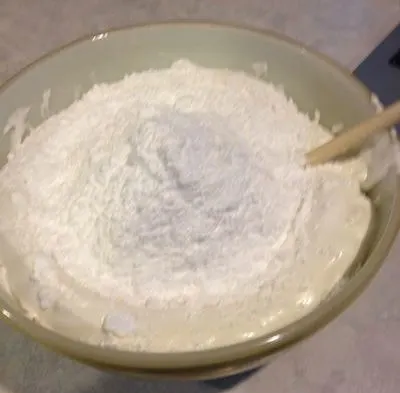
Pour 2/3 of the confectioners sugar over the marshmallows and blend together.
You can start blending with a large wooden spoon or paddle, but eventually you’ll need your greased hands in it.
Add a little sugar if the mixture doesn’t hold together.
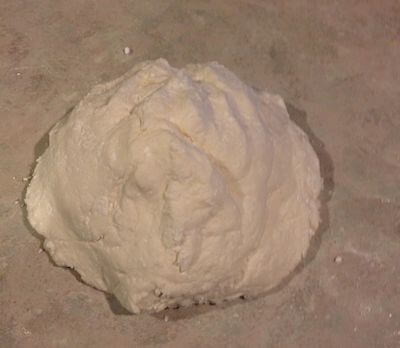
When it is mostly blended, gather it into a ball and place on your greased work surface for kneading.
Knead the mixture like dough until all the sugar is mixed in and there are no lumps.
 You want the dough to move from outside to inside, so the kneading is like a rolling, folding, and pushing motion.
You can either go top to bottom or top corners to middle (Ram’s head style in potter’s terminology.)
Add more sugar as you go.
Re-grease your hands and the work area if the fondant sticks to them.
If the sugar is well mixed and the fondant is tearing instead of stretching, add a small amount of water, a teaspoon or two at a time as needed.
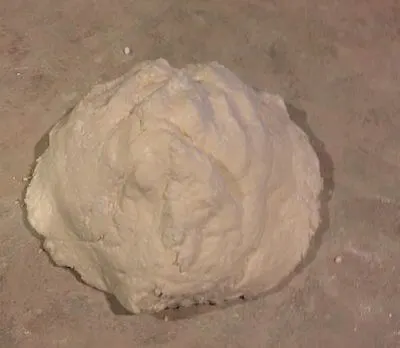
Once there are no lumps and you have used all the sugar, you are finished with this step.
Now you have Fondant!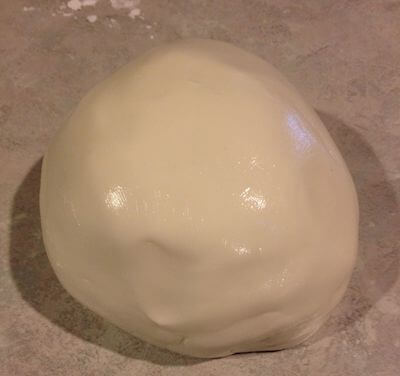
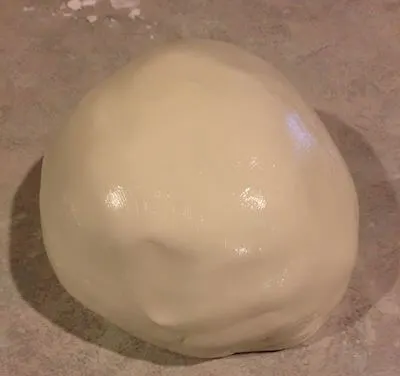
Grease the fondant ball and wrap it in plastic wrap.
Place in an airtight container or bag and stow it in the refrigerator to rest, ideally overnight, 4-6 hours at least.
Now you can bake the cake and frost it with a layer of plain frosting which will be covered with the fondant decoration.
This base of frosting holds the fondant in place and gives it a smooth flexible surface.
You and the fondant can now rest up for the next step. Tomorrow the real fun gets started!
Begin Your Fondant Birthday Cake Design
Now you and the Fondant should be rested and ready to create!
You should have your cake made and covered with a layer of whipped-style frosting before you start the fondant work.
Setup your work area with the tools and design plans you’ll need.
I much prefer rolling the fondant on a countertop or table surface because the ball is fairly stiff. Parchment paper or a mat tend to move around unless you can attach them somehow.
Color the Fondant
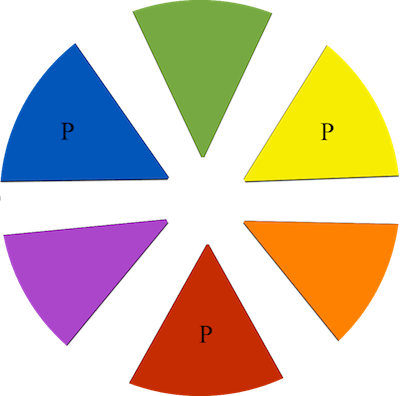
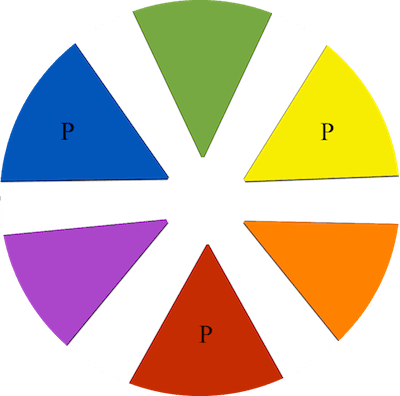
The first fondant task is to color the fondant to fit your design. Go back to your color balls from the mock-up or use your best judgement if you didn’t do a dough mock-up.
Take a section of fondant about the size of your color balls and add the food coloring for it. You may need to warm the fondant before you can work it.
 For small sections, warm it with your hands for a minute or two before adding color.
For large sections, up to 5-10 seconds in the microwave should get it moving.
For lighter or pastel colors, start with 1-3 drops of color depending on how large your ball is. For darker or deeper colors use a little more.
Once blended, decide if more color is needed and repeat.
You can use the primary colors red, blue, and yellow to make almost any color you need.
Red and blue make purples, blue and yellow make greens, and yellow and red make oranges.
Roll Out the Cover Piece
Once you have the colors, you are ready to roll out the fondant. Start with the cake cover piece. Measure the cake across the top and down both sides. Add up the lengths to get the size your cover piece needs to be. So if the cake is 2 inches high and 13 inches long, that size will be 17 inches long. I allow a little extra for trimming since the edges will vary in evenness.
If the cake is a rectangle, measure both width and length. This is the size you need your fondant cover to be.
For a round cake start with a ball. For a rectangle, start with a log shape.
Roll the fondant, going in all directions to spread it into the size and shape you need. The thickness should be between 1/8 and 1/4 inch. Set aside (greased and wrapped) any extra fondant in case you need more colors.
Place the Fondant Cover Piece on the Cake
You may have noticed by now how easy it is to mark up the finish with a misplaced tool mark or fold. This makes it tricky to get the fondant from the counter to the cake without stretching, tearing, or scarring the smooth surface
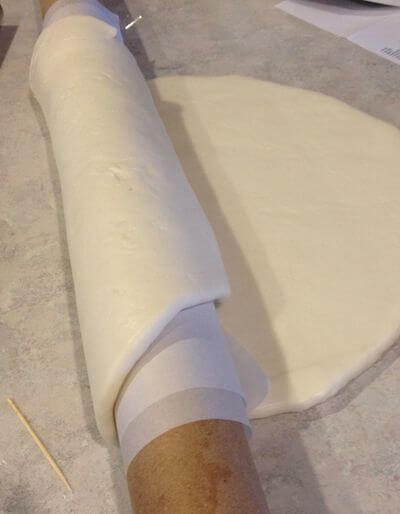
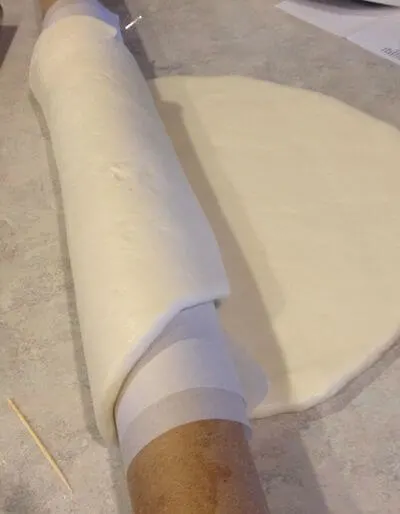 The trick is to roll the fondant over a fondant roller or similar object.
The first time, I used a tube from gift wrap covered with foil.
If you don’t want to invest in a fondant roller yet, get creative with finding a roller to use.
You could tape down your parchment roll, cover a swimming noodle, cover a large dowel… you get the idea.
Start at one edge and roll the fondant over the roller.
Roll the fondant until you can pick it up without stretching it.
Carefully position the hanging edge over the cake and gently unroll it over the surface.
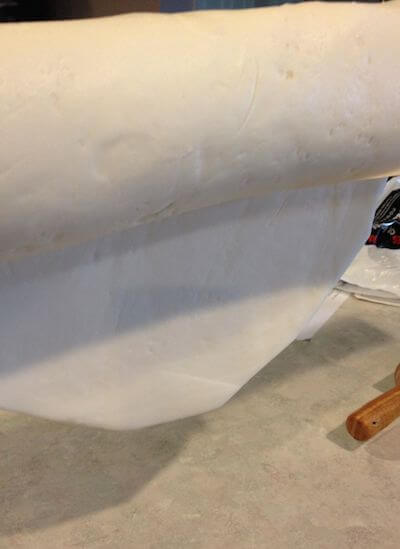
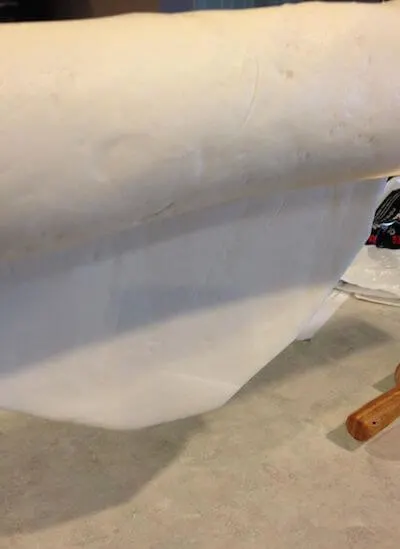
Because of the frosting bed, you should be able to move the fondant around a little to get the position just right.
Smooth it into place on the cream icing, removing bubbles as you go.
Trim the edges and save the scrap pieces, just in case you need them for the design.
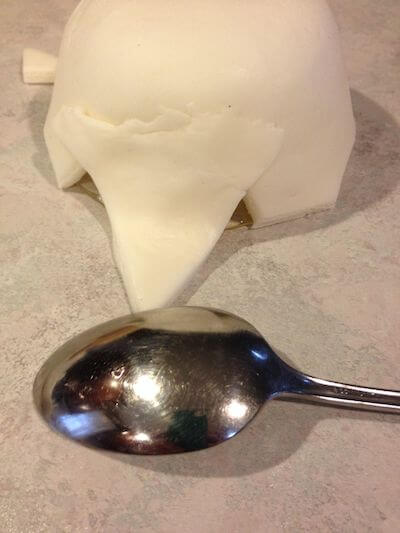
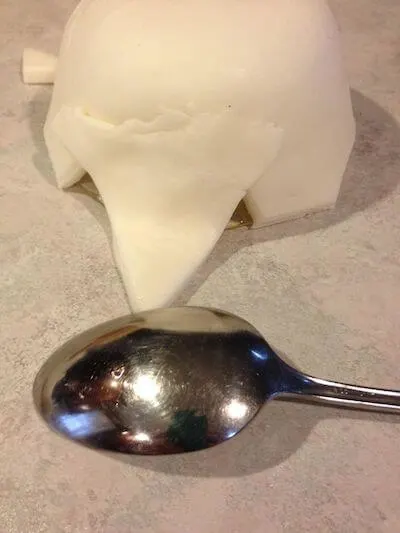
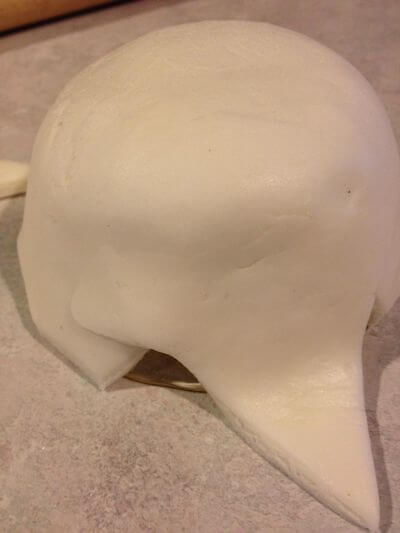
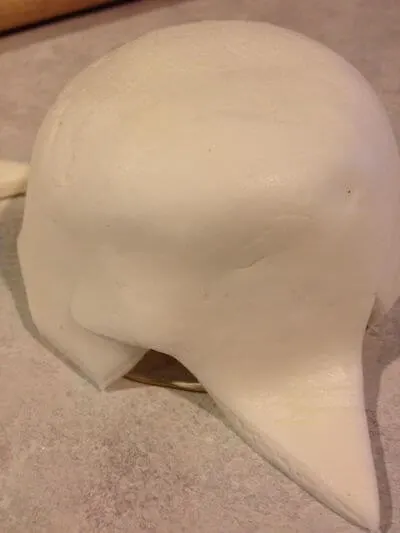
On some shapes you may need to cut out excess material and rejoin the edges, kind of like making a dart in sewing. Try to position these where they can be hidden by decoration if possible. If not, you will need to work the fondant back together to “erase” the join seam.
I’ve had good results using the back of a spoon that has been heated in hot water and then dried. Rub across the seam gently until it is almost invisible. It may work to put a dab of shortening on if it seems dry, but only on the top, not inside the joint. A tiny bit of moisture, just a drop on your finger, in the seam itself might help the bond, too.
Add the Colored Fondant Design Elements
Once your background color is done, you can begin adding the design pieces. Roll out your colors and cut out the pieces you created in your mock-up design.

 You can use cookie cutters, knives, toothpicks, and even found shapes to create interesting arrangements.
Each cake you make will be better than the one before!
This one is just cutouts of various colors, a few lines, and dots.
You Can Make Fondant Figures Too
You can use fondant to create little sculptures to make your designs more interesting.
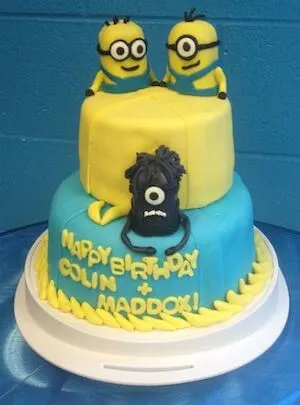
This one uses fondant sculptures for the banana trim, cutout letters, and stacked colors for the eyes and clothes.
This cake has 2 sizes of layer cakes stacked.
The Minions are fondant covered Twinkies.
Game pieces, animals… get creative!
These are just simple ideas, and your creations can look even better than these quickies.
Want more cake ideas? Check out these pages: