This is page 2 of the Guide to Making Awesome Fondant Birthday Cakes, so if you missed page 1, you might want to start there.
Make the Shopping List
A Few Things You Need to Know
Our Fondant recipe is marshmallow based. Only 5 ingredients. Each batch should be enough for one standard sized layer cake with enough extra to make design elements. The microwave makes it quick and easy but the stove top method works fine, too.
We’ll be using the microwave method in this tutorial.
If your plan is to make large shapes or large cakes, you need to figure out how many batches that might take or allow for needing another batch if necessary.
Be aware that it can be difficult to get a good color match between 2 batches, so take that into consideration before you decide.
Consider that one batch covers a cake with 12 generous servings, either a layer cake or a quarter sheet cake.
If you need a larger sheet cake or plan a large design, do some math to see how many batches you might need.
- Layer cake, 9” serves 12
- Quarter sheet 9″x13″ serves 12
- Half sheet 12″x18″ serves 24 (approximately a jelly roll pan, you may have one)
- Full sheet cake is two 12″x18″ cakes side by side, or 18 x 24 serves 48For example, a full sheet cake might serve 48, which would be 4 times the size of a typical layer cake. 4 batches should be enough, depending on the design. I suggest practicing with a small cake before tackling a very large cake and design.
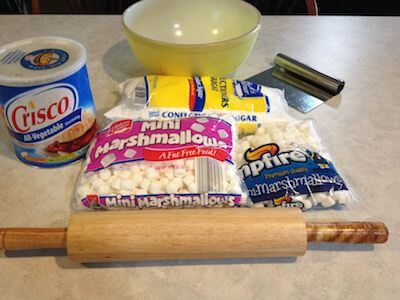
 Ingredients for one batch:
16 ounces of Marshmallows
2 pounds of confectioners sugar
1/2 cup of shortening
small bowl of water
Food colorings
Before the fondant is applied the cake should be frosted with a layer of whipped-style frosting which makes a nice bed and “glue” to hold the fondant in place.
So make or buy this frosting before you begin the fondant.
Equipment needed:
- Large smooth work surface, like your counter top or kitchen table (which will be smeared with shortening)
Granite might not work, so you may need a pastry mat, large cutting board, or a ceramic top stove might be better.
- Rolling pin or fondant roller (wide)
When it is time to move the fondant to the cake, you need a large cylinder for lifting it. A long tube like a gift wrap tube can work if you don’t want to buy a fondant roller.
- Large glass bowl (or microwaveable alternative)
- Large spoon
Keep reading for more things you might need on your shopping list…
Make a Mockery… uh, no… Make a Mock-Up
If you’re just getting started on this type of decorating, a good trick is to use “Play Doh” to get your design just perfect. The consistency is similar to fondant so it works well for fine-tuning your design.

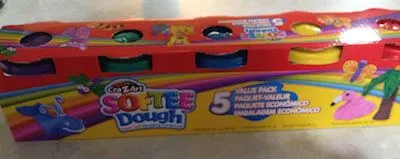
If you don’t have Play Doh in the house, put it on your shopping list, or make some with flour and water, if you have plenty of flour on hand.
Or, you can use crayons or colored pencils to draw and cut out your mock-up design. The only downside is that you won’t get a feel for how much fondant will be needed for each color.
You can find cheap off-brand versions if you want to save a little dough. (Ha ha, couldn’t resist that one 😉 The one I found only cost me $4 for 5 colors.
Shopping Checklist for Your Fondant Birthday Cake Design
- Play Doh
- Marshmallows
- Confectioner’s sugar
- Food colors (drops, gel, or “professional” fondant colors)
- Shortening
- If no smooth surfaces: large non-slip cutting board or pastry mat
- Cake pan(s)
- Serving plate or cardboard cake disc
- Cake carrier or cake box for transporting
- food coloring pens, decorating candies for eyes, glitter…
Prepare Your Work Area for Design Play
 Find a flat surface, like your counter top, get your rolling pin, design notes, and just play with the dough!
If you do it on parchment paper, you can draw templates as you go, too.
You can use cookie cutters, a glass, a craft knife or just kitchen knives to carve up your pieces.
If you want to get fancy and spend a little extra you can get a set of fondant carving tools at a craft store, but this is totally optional.
You already have lots of useful tools in your kitchen, like these: knives, scissors, various plastic, metal or glass containers that can be used for tracing or cutting out shapes, etc.
One thing to keep in mind when working on a mock-up with Play Doh is that you probably won’t have exactly the right colors to match your design.
Just keep an open mind and know that your colors will be great when you do it with fondant.
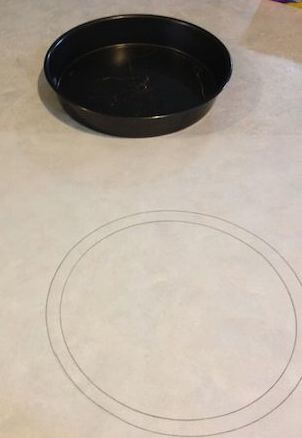
In these pictures you can see that I started my mock-up with parchment paper taped to the counter top.
I drew an outline of my layer cake pan so I could make sure my design idea would fit.
By trimming the design image I can see how it fits and decide which parts I can do without, if necessary.
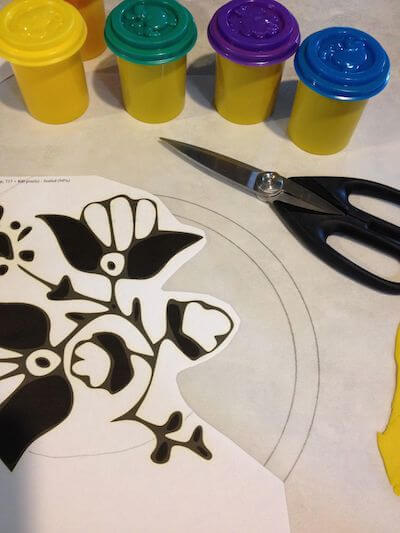
 Next I cut apart the larger pieces to provide a guide for cutting out the dough.
You can use any straight sided cylinder, jar, or glass as a roller if you don’t want to use your rolling pin on play dough.
Here I used a test tube from a child’s science kit.
A craft knife or large needle works well to cut around the shapes.
A straw works for small holes or if you have empty lipsticks, the lids work well for larger circles.
Use your imagination to find tools and shapes around the house, unless you plan to make a lot of cakes.
If that’s the case you may want to purchase a fondant tool set.
They are very similar to clay art tools, which are also available in the toy department for kids.
Don’t forget to think about the sides of the cake if they will be decorated.
The Final Mock Up Design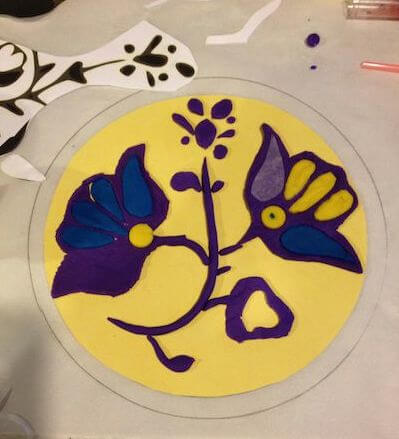
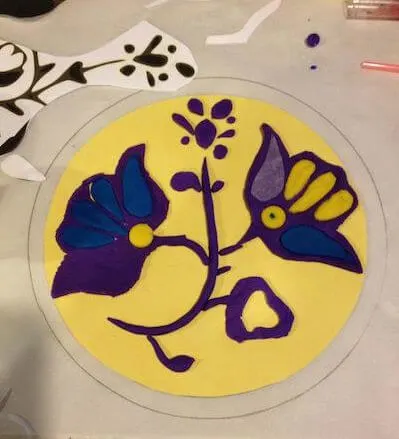
Arrange your pieces into your final design.
Once you are happy with it, take a picture or sketch the layout for future reference.
Here is our mock-up/demo piece.
Estimating the Fondant Colors for Your Design

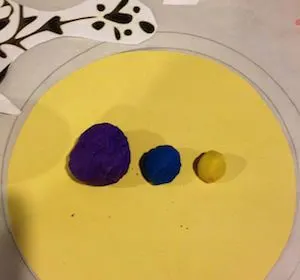
Now gather the colored pieces together into a ball according to color.
This will show you how much fondant of each color you need so you don’t have to guess and use too much.
I like to allow for error, so I would color a little more than this, just to be safe.
Be sure to account for the sides and edge if you will use fondant there, too.
Place your color balls in plastic bags for future reference, or use a photo.
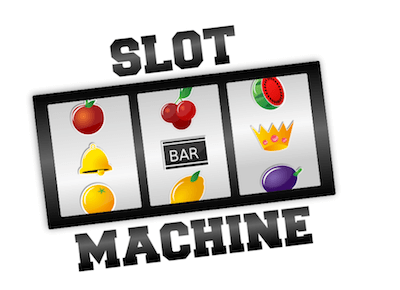
 Here’s another quick mock-up example, but you might do it better.
A clipart image on the left and a play dough mock-up on the right.
You can change the colors as well as the items on the slot machine, whatever suits your plan…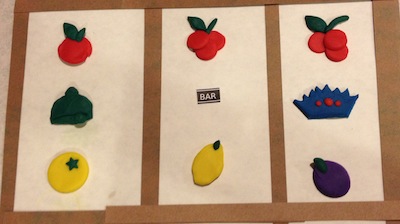

Continue to the next page for the rest of this Guide to
Awesome Fondant Birthday Cakes.